Integrating WalletConnect with Solana: A Modern Approach
First, it’s important to understand that WalletConnect is not a wallet itself. It is a secure communication protocol that allows desktop DApps to “talk” to mobile wallets.
The User Flow:
- A user on their desktop visits your DApp and clicks “Connect Wallet.”
- From the list of options, they select “WalletConnect.”
- A QR code appears on your DApp’s screen.
- The user opens their compatible mobile wallet (like Solflare mobile, Phantom mobile, or many others), uses its built-in scanner to scan the QR code.
- The mobile wallet asks the user to approve the connection.
- Once approved, the desktop DApp is securely connected to the mobile wallet. All future transaction requests from the DApp will trigger a confirmation prompt on the user’s phone.
The Benefit: By integrating WalletConnect, you instantly make your DApp compatible with dozens of wallets across multiple platforms, breaking free from the limitation of only serving users with specific browser extensions installed.
Part 2: The First Crucial Step – Getting Your Project ID
The modern WalletConnect v2 protocol requires every DApp to have a unique projectId. This is a frequent point of confusion for developers but is a mandatory first step.
- Navigate to WalletConnect Cloud.
- Sign up or log in, and create a New Project.
- Give your project a name (e.g., “My Awesome Solana DApp”).
- Once created, you will see your Project ID. Copy this value.
Best Practice: Store this ID in an environment variable in your project (e.g., a .env.local file for Next.js) to keep it secure and out of your source code.
NEXT_PUBLIC_WALLETCONNECT_PROJECT_ID="YOUR_PROJECT_ID_HERE"
Part 3: The Integration – Using the Solana Wallet Adapter
The best and standard way to add WalletConnect is through the same Solana Wallet Adapter you use for other wallets. This ensures a consistent and seamless experience.
1. Install the Right Package In addition to your existing wallet adapter packages, you need to install the specific adapter for WalletConnect:
npm install @solana/wallet-adapter-walletconnect
2. Configure the WalletProvider Now, you need to update your main application wrapper (typically pages/_app.js or app/layout.tsx in Next.js) to include and configure the WalletConnect adapter.
// In your main app wrapper file (e.g., pages/_app.js)
import React, { useMemo } from 'react';
import { ConnectionProvider, WalletProvider } from '@solana/wallet-adapter-react';
import { WalletAdapterNetwork } from '@solana/wallet-adapter-base';
import { WalletModalProvider } from '@solana/wallet-adapter-react-ui';
import { PhantomWalletAdapter, WalletConnectWalletAdapter } from '@solana/wallet-adapter-wallets';
import { clusterApiUrl } from '@solana/web3.js';

require('@solana/wallet-adapter-react-ui/styles.css');
import '../styles/globals.css';

function MyApp({ Component, pageProps }) {
    const network = WalletAdapterNetwork.Devnet;
    const endpoint = useMemo(() => clusterApiUrl(network), [network]);

    const wallets = useMemo(
        () => [
            new PhantomWalletAdapter(),
            new WalletConnectWalletAdapter({
                network: network,
                options: {
                    projectId: process.env.NEXT_PUBLIC_WALLETCONNECT_PROJECT_ID,
                    metadata: {
                        name: 'My Awesome DApp',
                        description: 'A description of my awesome DApp',
                        url: 'https://yourawesomedapp.com',
                        icons: ['https://yourawesomedapp.com/logo.png'],
                    },
                },
            }),
        ],
        [network]
    );

    return (
        <ConnectionProvider endpoint={endpoint}>
            <WalletProvider wallets={wallets} autoConnect>
                <WalletModalProvider>
                    <Component {...pageProps} />
                </WalletModalProvider>
            </WalletProvider>
        </ConnectionProvider>
    );
}

export default MyApp;
Key Configuration Details:
- We import
WalletConnectWalletAdapterand add a new instance of it to ourwalletsarray. projectId: This is where you pass the Project ID you obtained in Part 2. It is required.metadata: This object is highly recommended. The information you provide here (name, description, URL, icon) will be displayed to the user inside their mobile wallet when they are asked to approve the connection. Good metadata builds trust.
Part 4: The User Experience and Testing
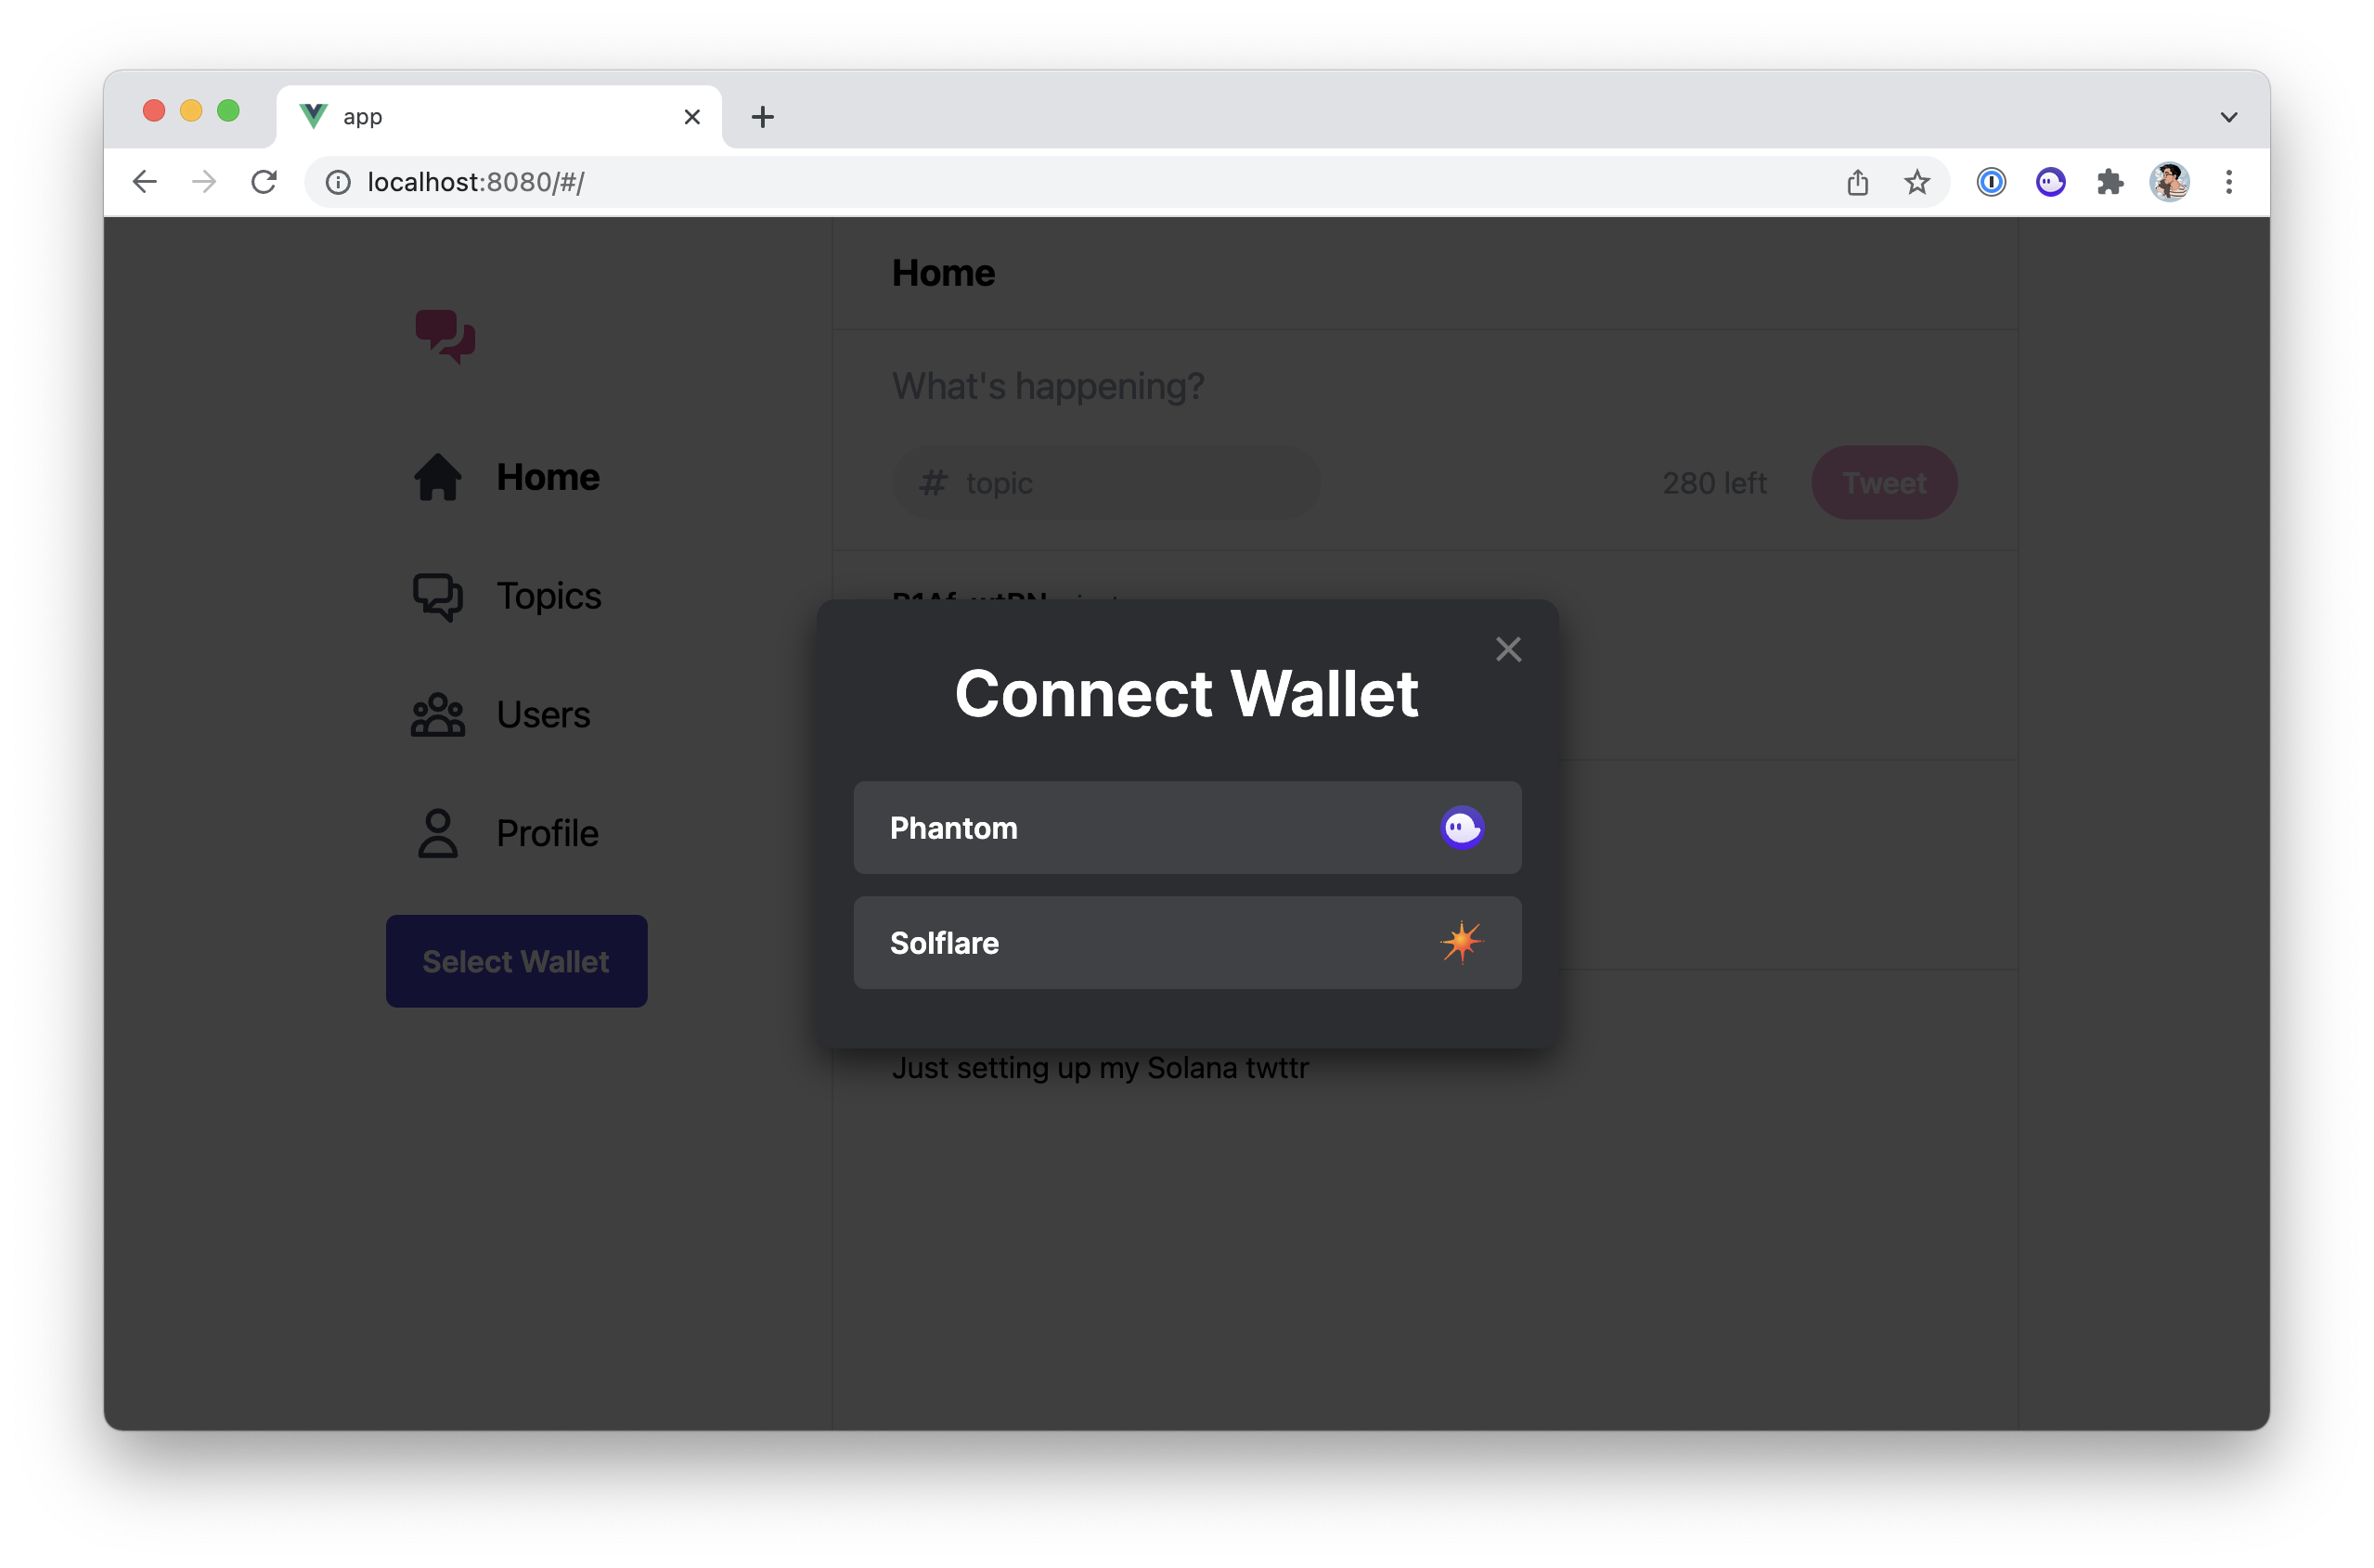
1. How It Looks in the UI The beauty of using the Wallet Adapter is that you don’t need to change your UI code. The <WalletModalProvider> and <WalletMultiButton /> components will now automatically include WalletConnect as an option in the wallet selection modal, right alongside Phantom.
2. Testing the Flow You can now test the complete end-to-end experience:
- Run your DApp on your desktop computer.
- Click the “Connect Wallet” button.
- In the modal, select “WalletConnect.” A QR code will appear.
- On your phone, open a WalletConnect-compatible Solana wallet (like Solflare or Phantom mobile).
- Find the QR code scanner within the mobile wallet (it’s often near the top right corner).
- Scan the QR code on your desktop screen with your phone.
- Approve the connection request on your phone. Your desktop DApp should now show as connected.
3. Transaction Signing Once the connection is established, your DApp’s logic remains the same. When you use the sendTransaction or signMessage functions from the useWallet hook, the Wallet Adapter will automatically route the request through the WalletConnect bridge. The user will receive a prompt to approve the transaction on their phone, not in a browser extension. This all happens seamlessly without any changes to your existing code.
Conclusion: Unlocking a Wider Audience
By integrating WalletConnect, you have fundamentally expanded the reach of your Solana application. You are no longer limited to users on desktop with specific browser extensions installed. You can now serve the vast and growing community of mobile-first users, providing a secure and intuitive connection experience.
In the competitive landscape of 2025, accessibility is a key advantage. Implementing WalletConnect is a powerful step towards building a DApp that is truly open and available to everyone in the Solana ecosystem.