How to Integrate Phantom Wallet into Your Solana DApp
A decentralized application (DApp) without a wallet connection is just a website. The wallet is the user’s identity, their key, and their bank account in the world of Web3. Bridging your application to the user’s wallet is the first and most crucial step in building any meaningful on-chain experience.
Given its massive user base and slick interface, Phantom is the wallet most of your users will bring to your DApp. Supporting it isn’t just an option; it’s essential.
But how do you do it correctly? You might be tempted to look for Phantom-specific APIs, but this is a common pitfall. The official, standardized, and most robust way to connect to Phantom—and every other major Solana wallet—is by using the Solana Wallet Adapter.
This guide will walk you through the entire process, showing you why the Wallet Adapter is the only tool you need and how to implement it for a seamless user experience.
Why Use the Solana Wallet Adapter?
Before we dive in, let’s clarify why this is the best practice:
- Future-Proof & Universal: By integrating the adapter, you write the connection logic once. Your DApp will then automatically support not just Phantom, but also Solflare, Backpack, Ledger, and any other wallet that adheres to the standard.
- Maintained by the Ecosystem: The library is actively developed and maintained, so you don’t have to worry about breaking changes from individual wallet updates.
- Simplified Logic: It provides a clean set of React Hooks and pre-built UI components that handle all the complex state management (connecting, disconnecting, wallet selection) for you.
Part 1: Setting Up Your React/Next.js Project
We’ll start with a standard Next.js application. If you don’t have one, create it now:
npx create-next-app@latest solana-phantom-integration
cd solana-phantom-integration
Next, install all the necessary packages for the Wallet Adapter with a single command:
npm install @solana/web3.js @solana/wallet-adapter-react @solana/wallet-adapter-react-ui @solana/wallet-adapter-wallets
Here’s what each package does:
@solana/web3.js: The core library for all interactions with the Solana blockchain.@solana/wallet-adapter-react: Provides the core logic and React Hooks (useWallet,useConnection).@solana/wallet-adapter-react-ui: Gives us pre-built, customizable UI components like the connect button and wallet selection modal.@solana/wallet-adapter-wallets: Contains the specific adapters for each wallet, including Phantom.
Part 2: The Wallet Provider – Wrapping Your Application
To make the wallet’s state (like the user’s address or connection status) available everywhere in your app, you need to “wrap” your entire application in a set of context providers.
Open pages/_app.js and modify it to look like this:
// pages/_app.js
import React, { useMemo } from 'react';
import { ConnectionProvider, WalletProvider } from '@solana/wallet-adapter-react';
import { WalletAdapterNetwork } from '@solana/wallet-adapter-base';
import { WalletModalProvider } from '@solana/wallet-adapter-react-ui';
import { PhantomWalletAdapter, SolflareWalletAdapter, BackpackWalletAdapter } from '@solana/wallet-adapter-wallets';
import { clusterApiUrl } from '@solana/web3.js';

// Import the wallet adapter's styles
require('@solana/wallet-adapter-react-ui/styles.css');
import '../styles/globals.css';

function MyApp({ Component, pageProps }) {
    // The network can be 'devnet', 'testnet', or 'mainnet-beta'.
    const network = WalletAdapterNetwork.Devnet;

    // You can also provide a custom RPC endpoint.
    const endpoint = useMemo(() => clusterApiUrl(network), [network]);

    // @solana/wallet-adapter-wallets includes all the adapters but supports tree shaking and lazy loading --
    // Only the wallets you configure here will be compiled into your application, and only the dependencies
    // of wallets that your users connect to will be loaded.
    const wallets = useMemo(
        () => [
            new PhantomWalletAdapter(),
            new SolflareWalletAdapter(),
            new BackpackWalletAdapter(),
        ],
        [network]
    );

    return (
        <ConnectionProvider endpoint={endpoint}>
            <WalletProvider wallets={wallets} autoConnect>
                <WalletModalProvider>
                    <Component {...pageProps} />
                </WalletModalProvider>
            </WalletProvider>
        </ConnectionProvider>
    );
}

export default MyApp;
Code Breakdown:
ConnectionProvider: Sets up the connection to the Solana network using the RPC endpoint.WalletProvider: Manages the list of wallets you want to support. We’ve includedPhantomWalletAdapterhere, along with a few others. TheautoConnectprop will try to automatically reconnect to a previously used wallet on page load.WalletModalProvider: This provides the beautiful modal pop-up that lets users choose which wallet to connect.
Part 3: Interacting with the Wallet: UI Components & Hooks
Now that the providers are set up, connecting to a wallet is incredibly simple.
The Easy Way: The Pre-built UI Button
The @solana/wallet-adapter-react-ui package gives you a drop-in component that handles everything. Open pages/index.js and add it:
import { WalletMultiButton } from '@solana/wallet-adapter-react-ui';

export default function Home() {
  return (
    <div style={{ display: 'flex', justifyContent: 'center', alignItems: 'center', height: '100vh' }}>
      <WalletMultiButton />
    </div>
  );
}
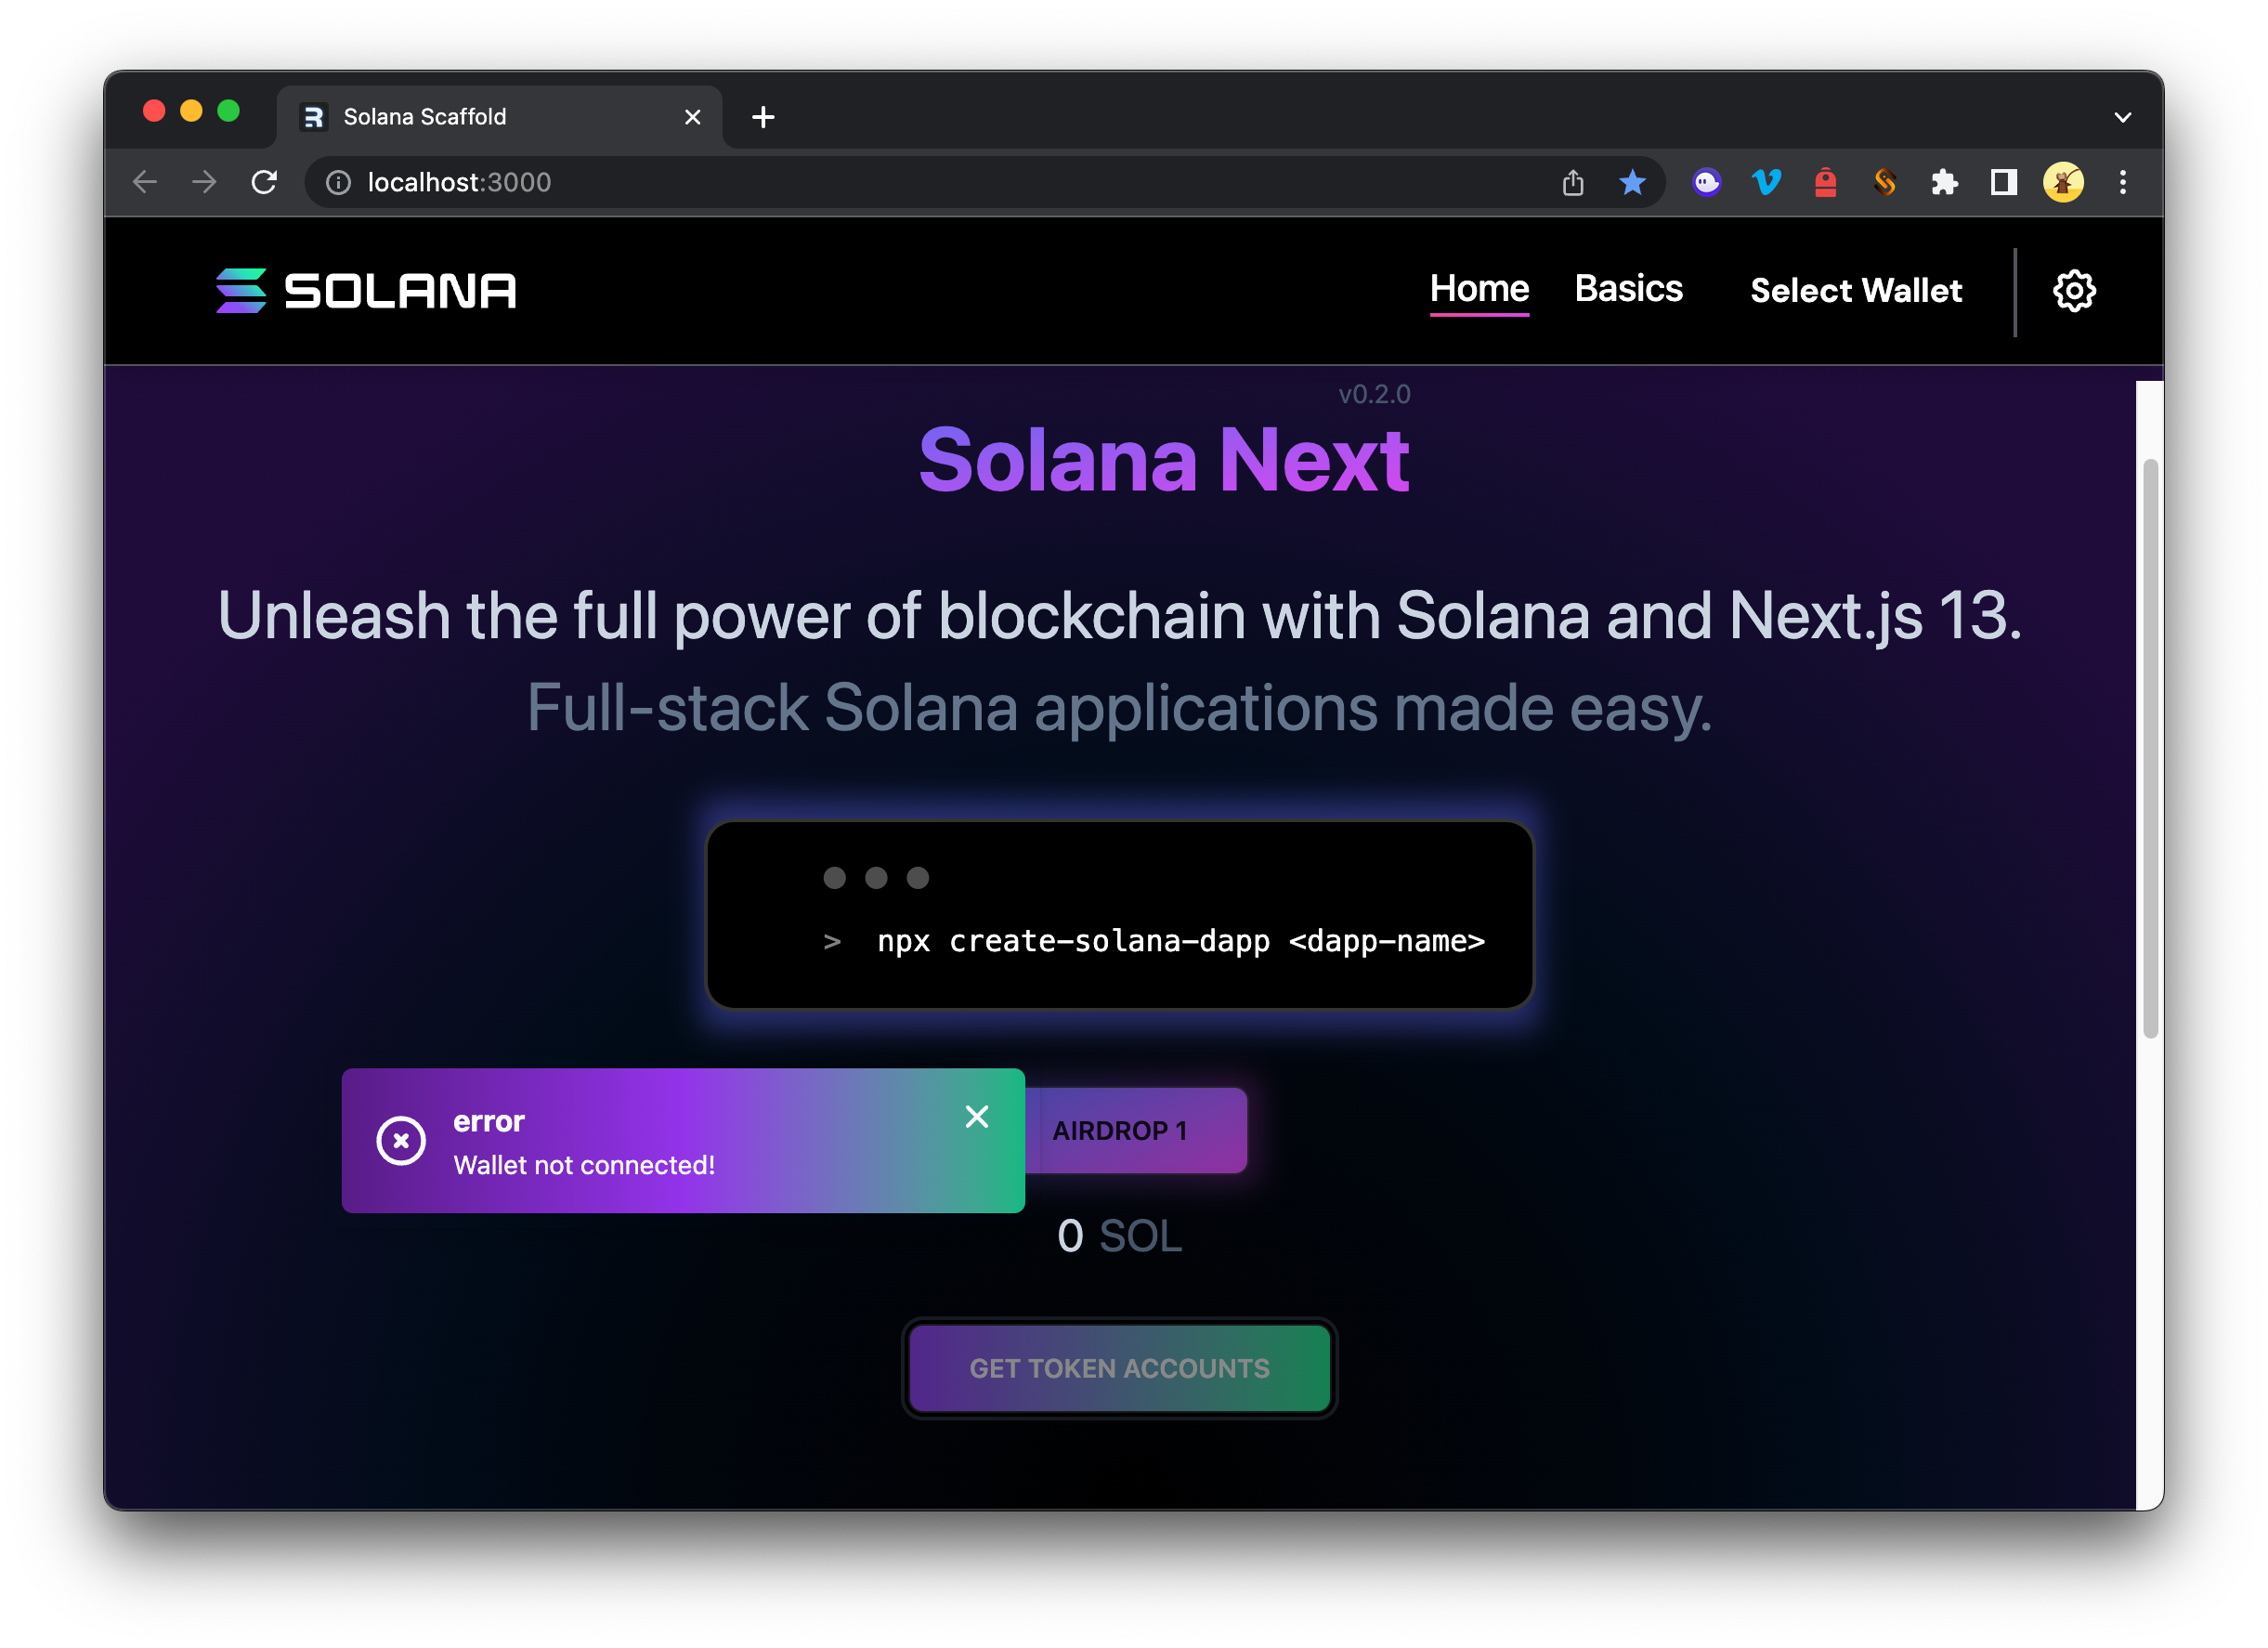
Run npm run dev and you’ll see a professional “Select Wallet” button. When clicked, it opens a modal listing Phantom and the other wallets you configured. Once connected, it automatically updates to show the user’s address and a disconnect option.
The Power User Way: Using React Hooks
For custom logic, the adapter provides a set of powerful React Hooks. The most important one is useWallet.
import { useWallet } from '@solana/wallet-adapter-react';
import { WalletMultiButton } from '@solana/wallet-adapter-react-ui';

export default function Home() {
    const { publicKey, connected } = useWallet();

    return (
        <div style={{ padding: '20px', textAlign: 'center' }}>
            <h1>My Solana DApp</h1>
            <div style={{ marginBottom: '20px' }}>
                <WalletMultiButton />
            </div>

            {connected ? (
                <p>Your wallet is connected! Public Key: {publicKey.toBase58()}</p>
            ) : (
                <p>Please connect your wallet to continue.</p>
            )}
        </div>
    );
}
The useWallet hook returns a rich object with all the state you need:
connected: A boolean (true/false) indicating the connection status.publicKey: The user’s public key object (if connected).sendTransaction: A function to send transactions.signMessage: A function to request a message signature from the user.
Part 4: A Practical Example – Signing a Message
Let’s create a simple component to prove ownership of a wallet by signing a message. This is a common pattern for authentication.
import { useWallet } from '@solana/wallet-adapter-react';
import { useCallback, useState } from 'react';

export const SignMessageButton = () => {
    const { publicKey, signMessage } = useWallet();
    const [signature, setSignature] = useState('');

    const onClick = useCallback(async () => {
        try {
            if (!publicKey) throw new Error('Wallet not connected!');
            if (!signMessage) throw new Error('Wallet does not support message signing!');

            const message = new TextEncoder().encode('Hello, this message proves I own this wallet!');
            const signature = await signMessage(message);

            console.log('Signature:', Buffer.from(signature).toString('base64'));
            setSignature(Buffer.from(signature).toString('base64'));

        } catch (error) {
            console.error(`Signing failed: ${error.message}`);
        }
    }, [publicKey, signMessage]);

    return (
        <div>
            <button onClick={onClick} disabled={!publicKey}>
                Sign Message
            </button>
            {signature && <p style={{ wordBreak: 'break-all' }}>Signature: {signature}</p>}
        </div>
    );
};
You can now import and use <SignMessageButton /> on your main page. It demonstrates how to access wallet functions and handle user interactions cleanly.
Conclusion
You have now mastered the modern, robust, and future-proof method for integrating Phantom into a Solana DApp. By using the Solana Wallet Adapter, you’ve not only made your life as a developer easier but have also built an application that is open and welcoming to users of any major Solana wallet.
With this crucial connection layer now solidly in place, you are free to focus on what really matters: building the unique features and on-chain logic that will make your DApp stand out.